DryMerge enables you to automate your work in seconds from just a simple sentence. It’s like magic.
Here’s a “How To” guide so you can get the most out of DryMerge. Happy automating!
Getting the Most out of Your Prompts
DryMerge was created with the vision that automation should be simple and accessible to everyone. That’s why you can get started automating from just plain English. Say you want to manage inbound leads. Instead of dragging blocks or writing code, just tell DryMerge “Whenever I get an email from a potential customer, add their details to a google sheet and draft a reachout message” and watch it happen in seconds. Type directly into the chat box at the bottom of the page to start automating.

While DryMerge is able to read between the lines, it also works best when you give it specific instructions. For example, detail exactly which integrations you want to use so DryMerge doesn’t have to guess whether you meant Gmail or Outlook when you said email. If you’d like to receive SMS updates, make sure you include your phone number in the prompt. And if you want to pull data into a fresh Google sheet with a certain format, specify which columns to create so you’re not left wanting any information. There’s no limit to how powerful your automations can get if you outline them clearly.

Authenticating
In order to pair with integrations, you’ll have to authenticate by signing into Google, Microsoft, Salesforce, Jira, and other services when prompted. DryMerge won’t be able to act on triggers and actions for these services until you authenticate.

Editing and Testing
Once DryMerge creates your automation, it’s always worth clicking in to verify the instructions and make any desired edits. Particularly for complex, multi-step automations, you’ll want to check that everything is interpreted as intended.

Once the automation looks good to go, you can run a test to verify everything is running perfectly. The chat interface will prompt you to run a test, but you can always run a test at any time from the automation interface.

Verifying your Automation is Turned On
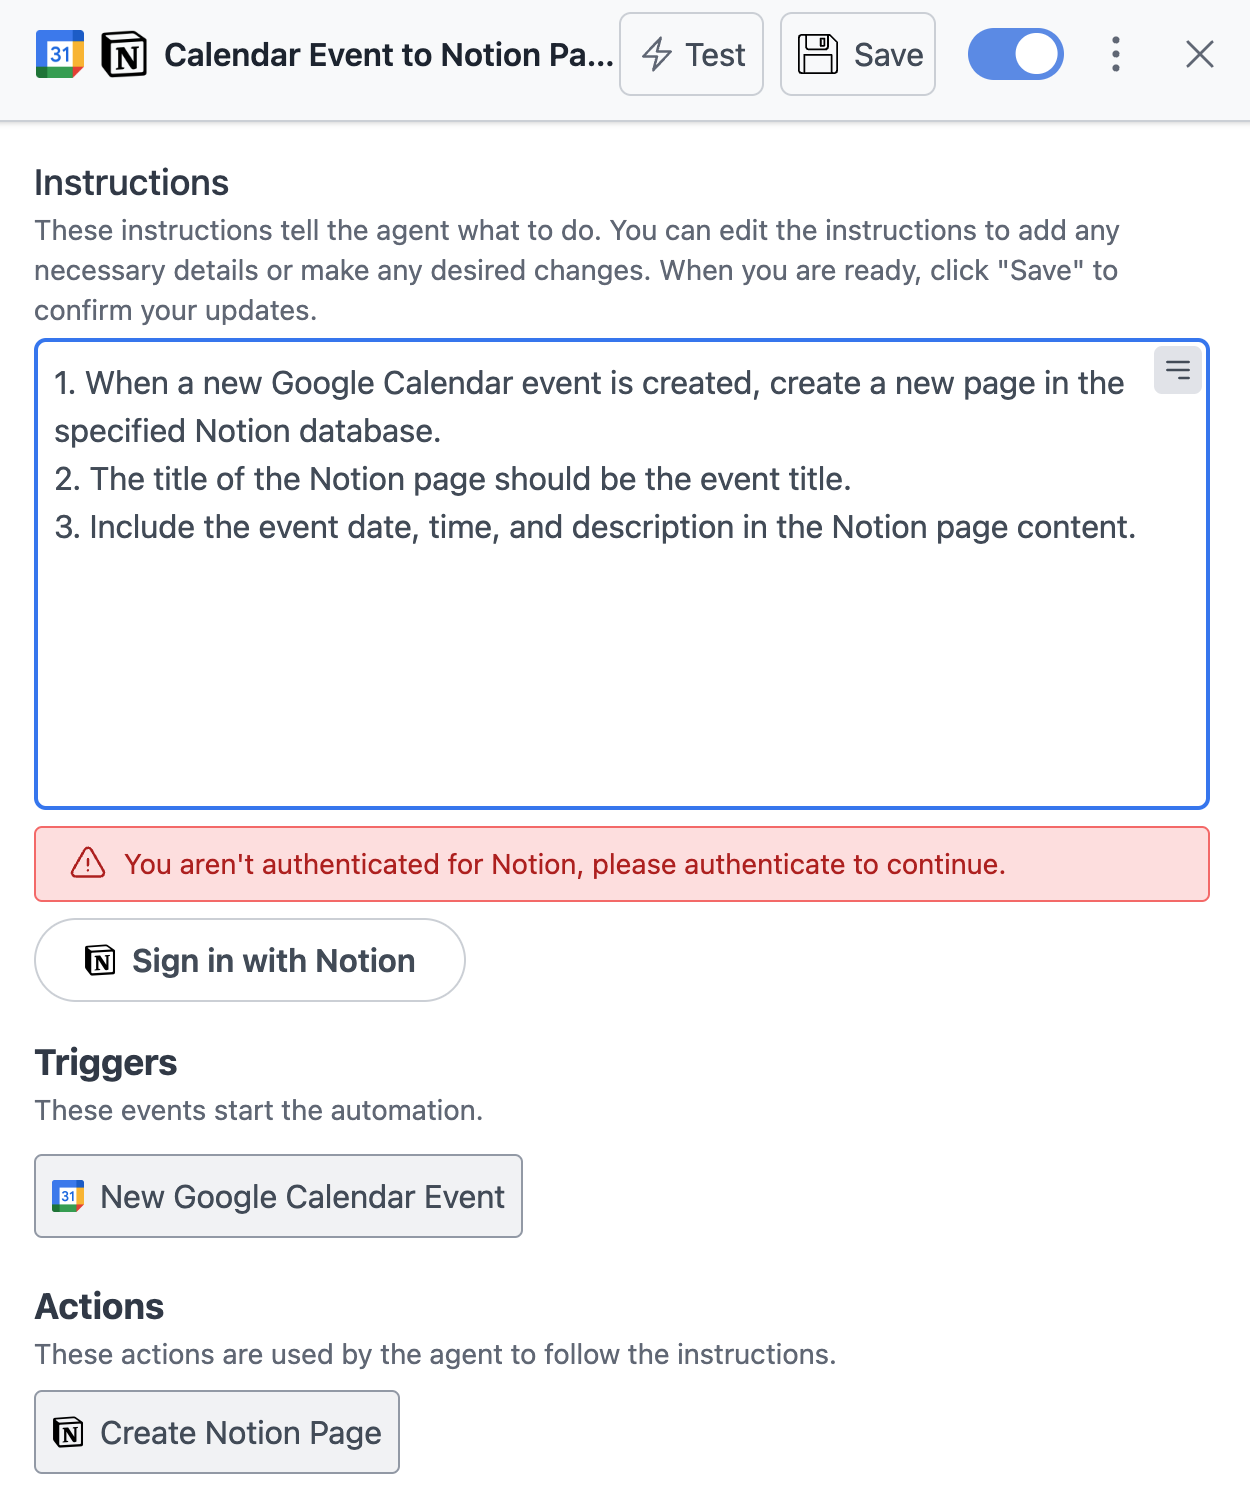
Make sure your automation is actually turned on. DryMerge will prompt you to test and confirm before your automation is enabled. By clicking to edit your automation, you can make sure the automation is turned on (the toggle should be blue and flipped to the right).

Checking Automation Activity
Switching to the activity page will give you a breakdown every time DryMerge automated one of your tasks. This is a great way to understand your activity across all automations.
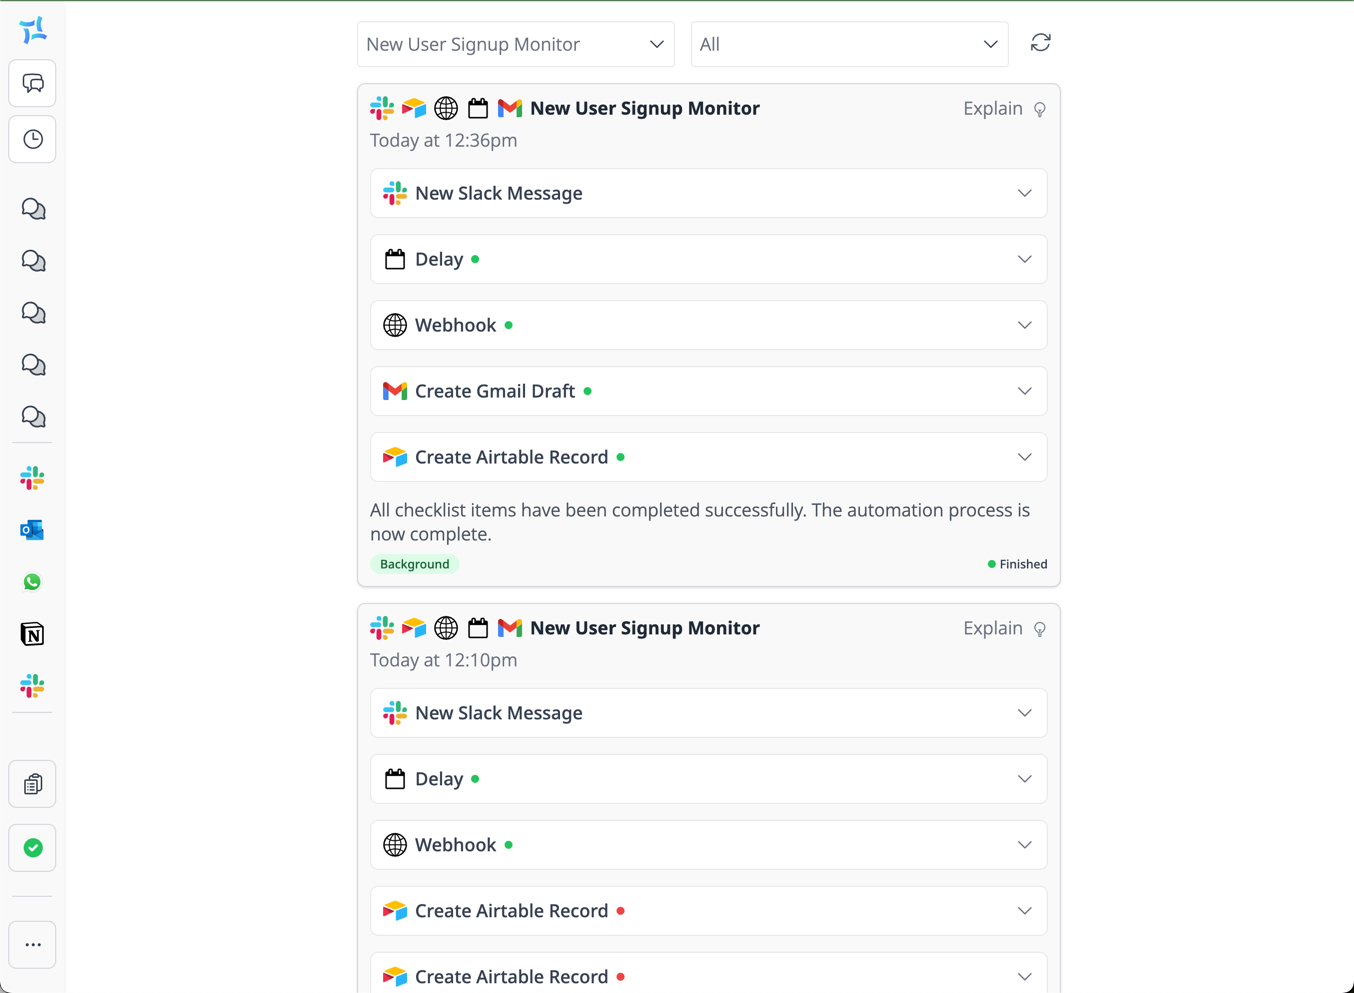
The explain button is a great tool to debug any issues. For example, here my automation fails because I forwarded emails to a slack channel that doesn’t exist.
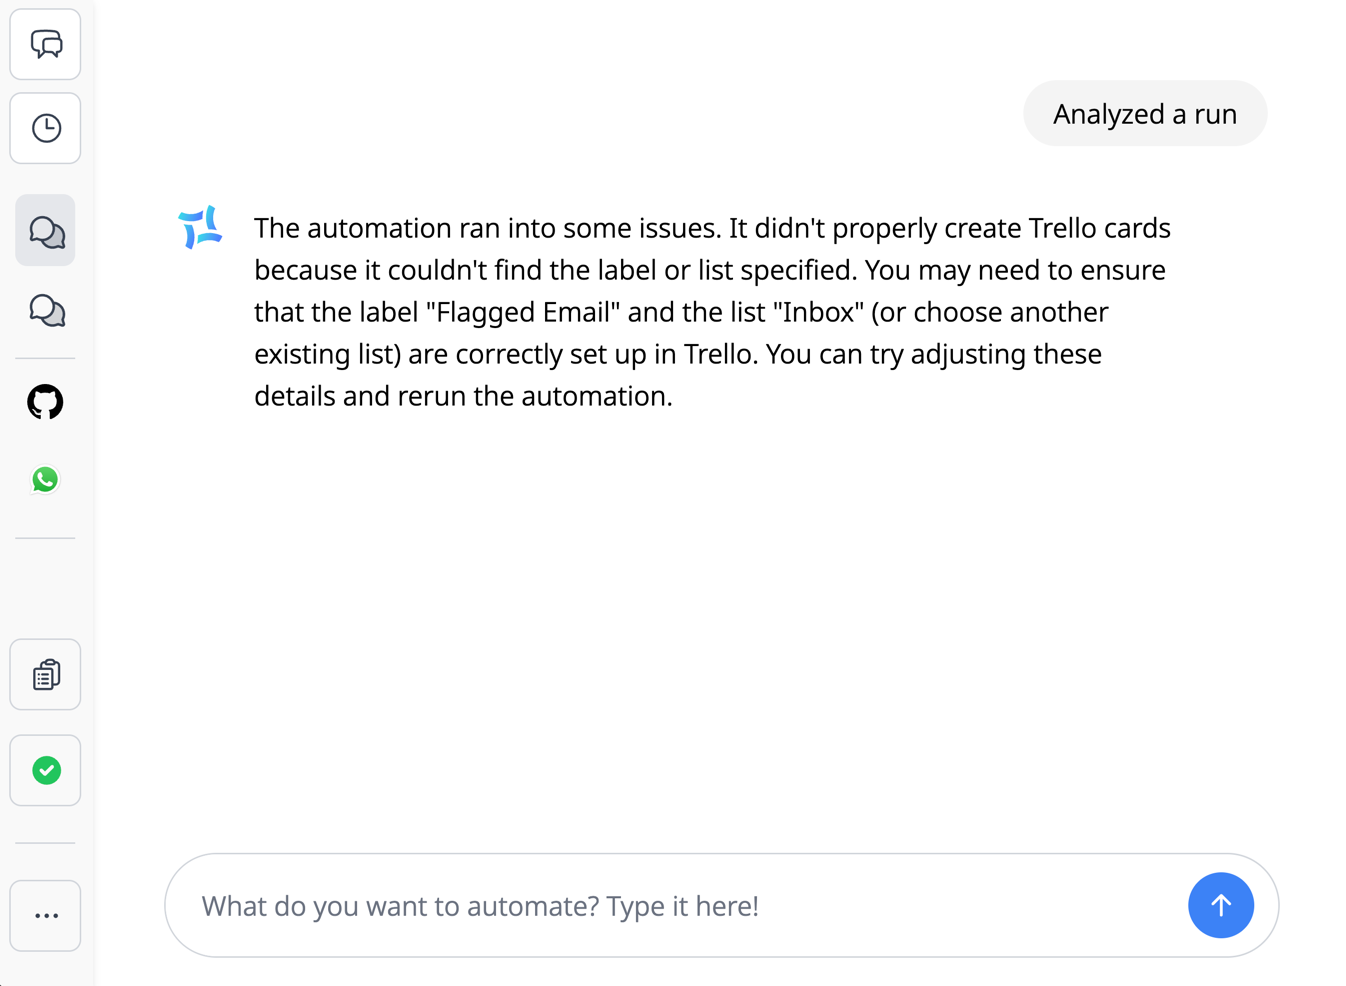
Keeping Track of Your Automations
The View your Automations button shows every automation you’ve set up. From here, you can easily toggle automations on and off, use the three dot menu to check activity, test, or delete an automation, and click an automation title to edit or see more details.
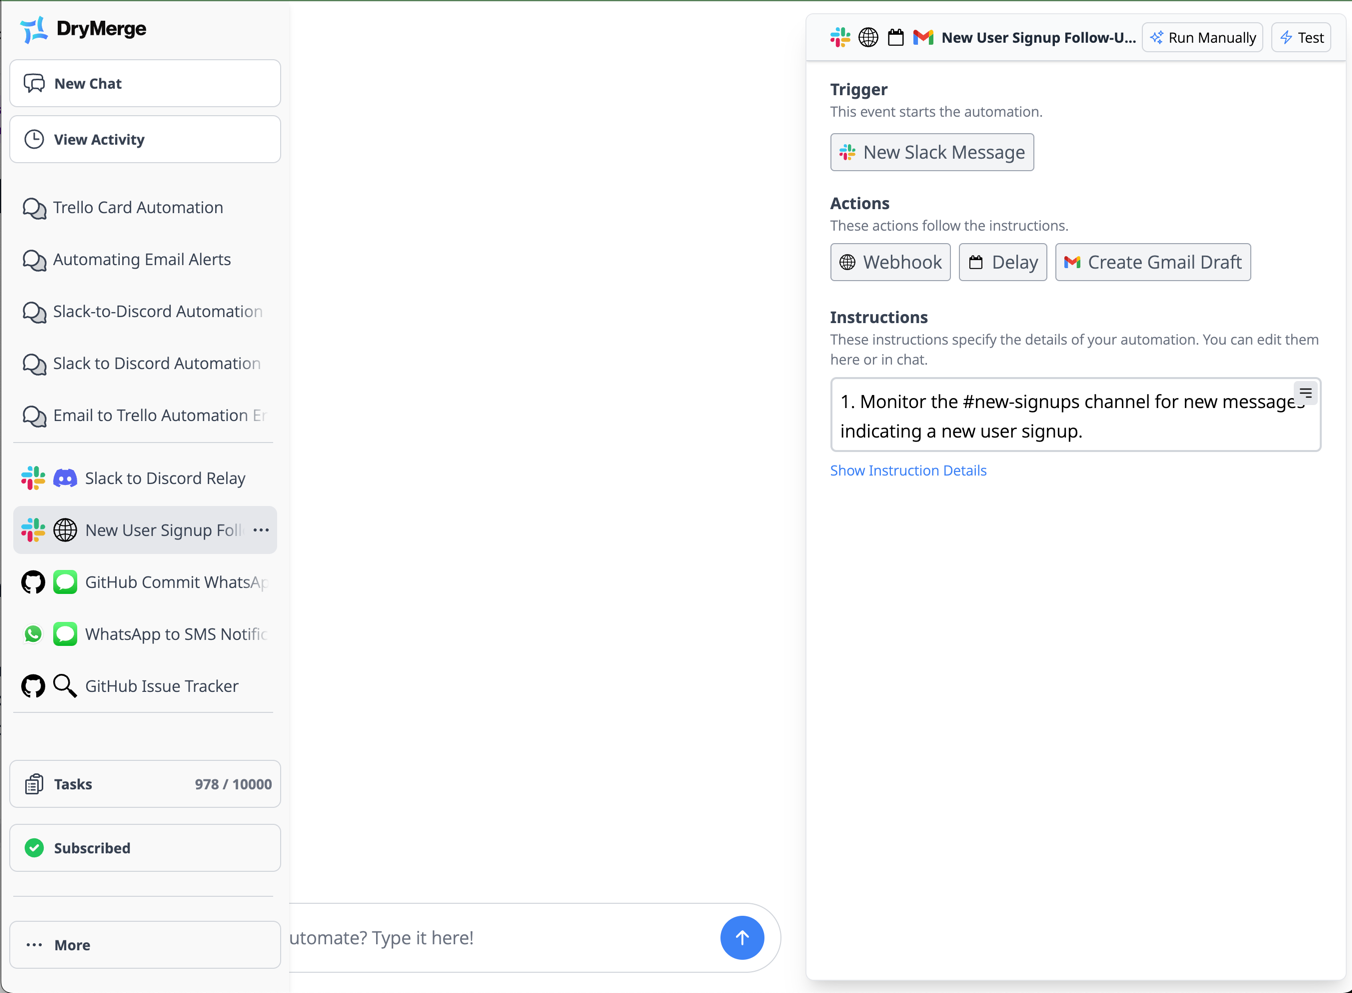
Get a detailed look at automation instructions and edit directly via text. You can view the trigger and action details and see whether there are any issues with authentication. Here my automation won’t work until I sign into Notion.
Chat Panel
Mousing over the panel on the left will show you a list of your existing chats. Having separate chats can help you stay organized when you’ve set up many automations. Here you can also see a running list of how many tasks you’re running. You can run up to 500 tasks a month for free with DryMerge.

Viewing Supported Integrations
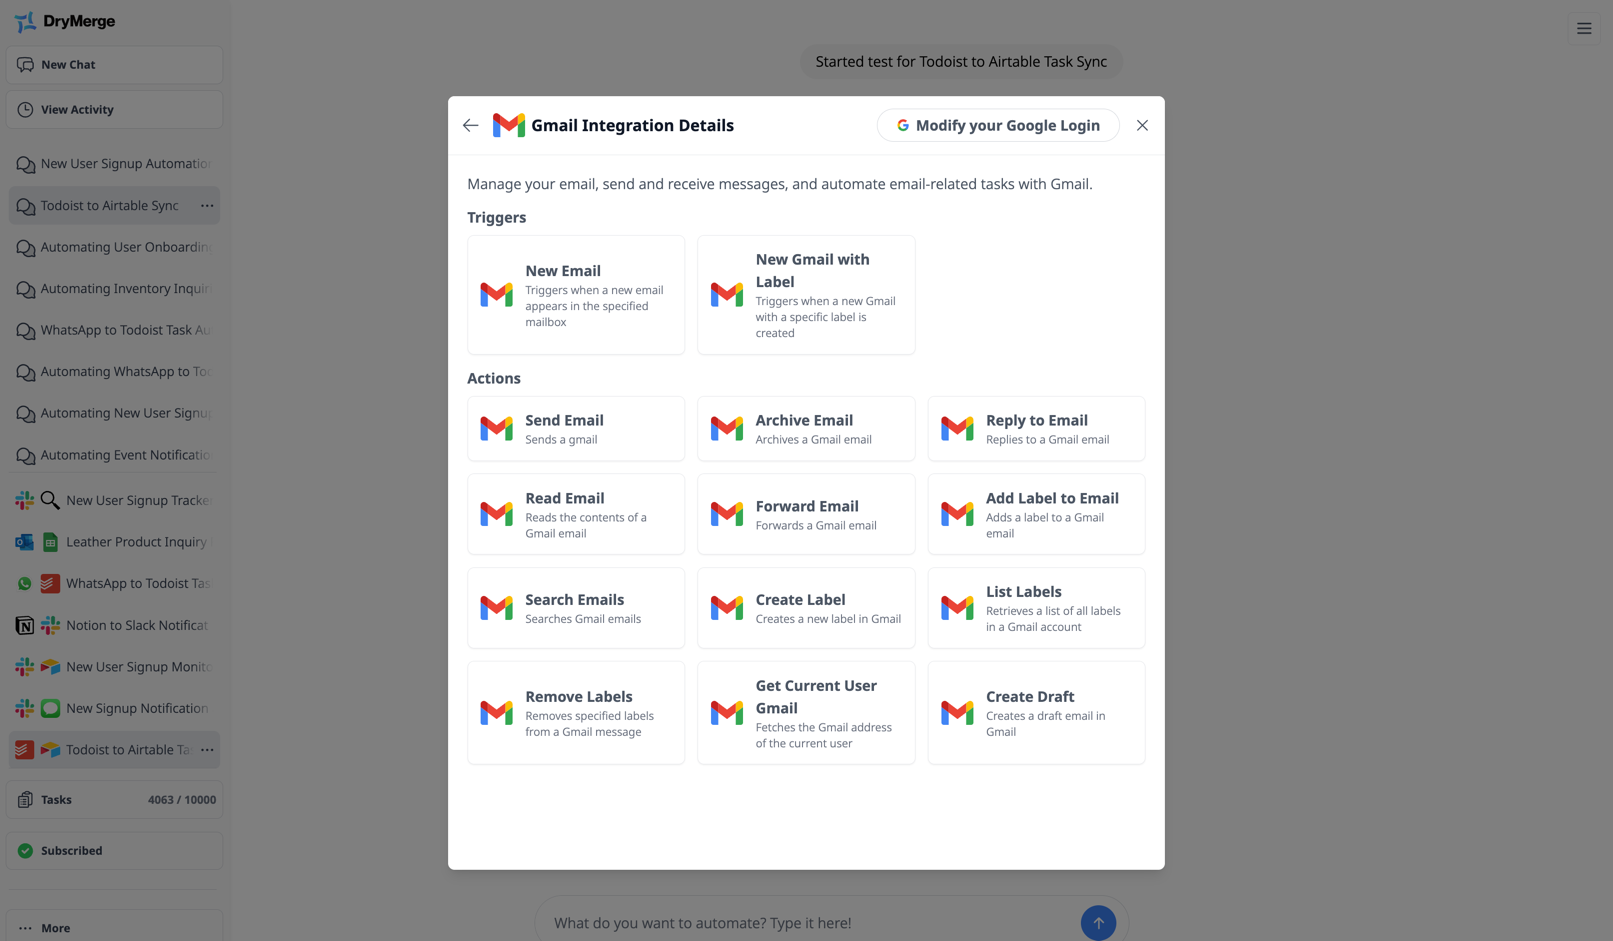
Clicking the Show Apps button in the bottom left corner under ‘More’ will give you a list of all the supported integrations. Get inspiration or check whether an integration is supported here. You can also check which services you’ve authenticated with.
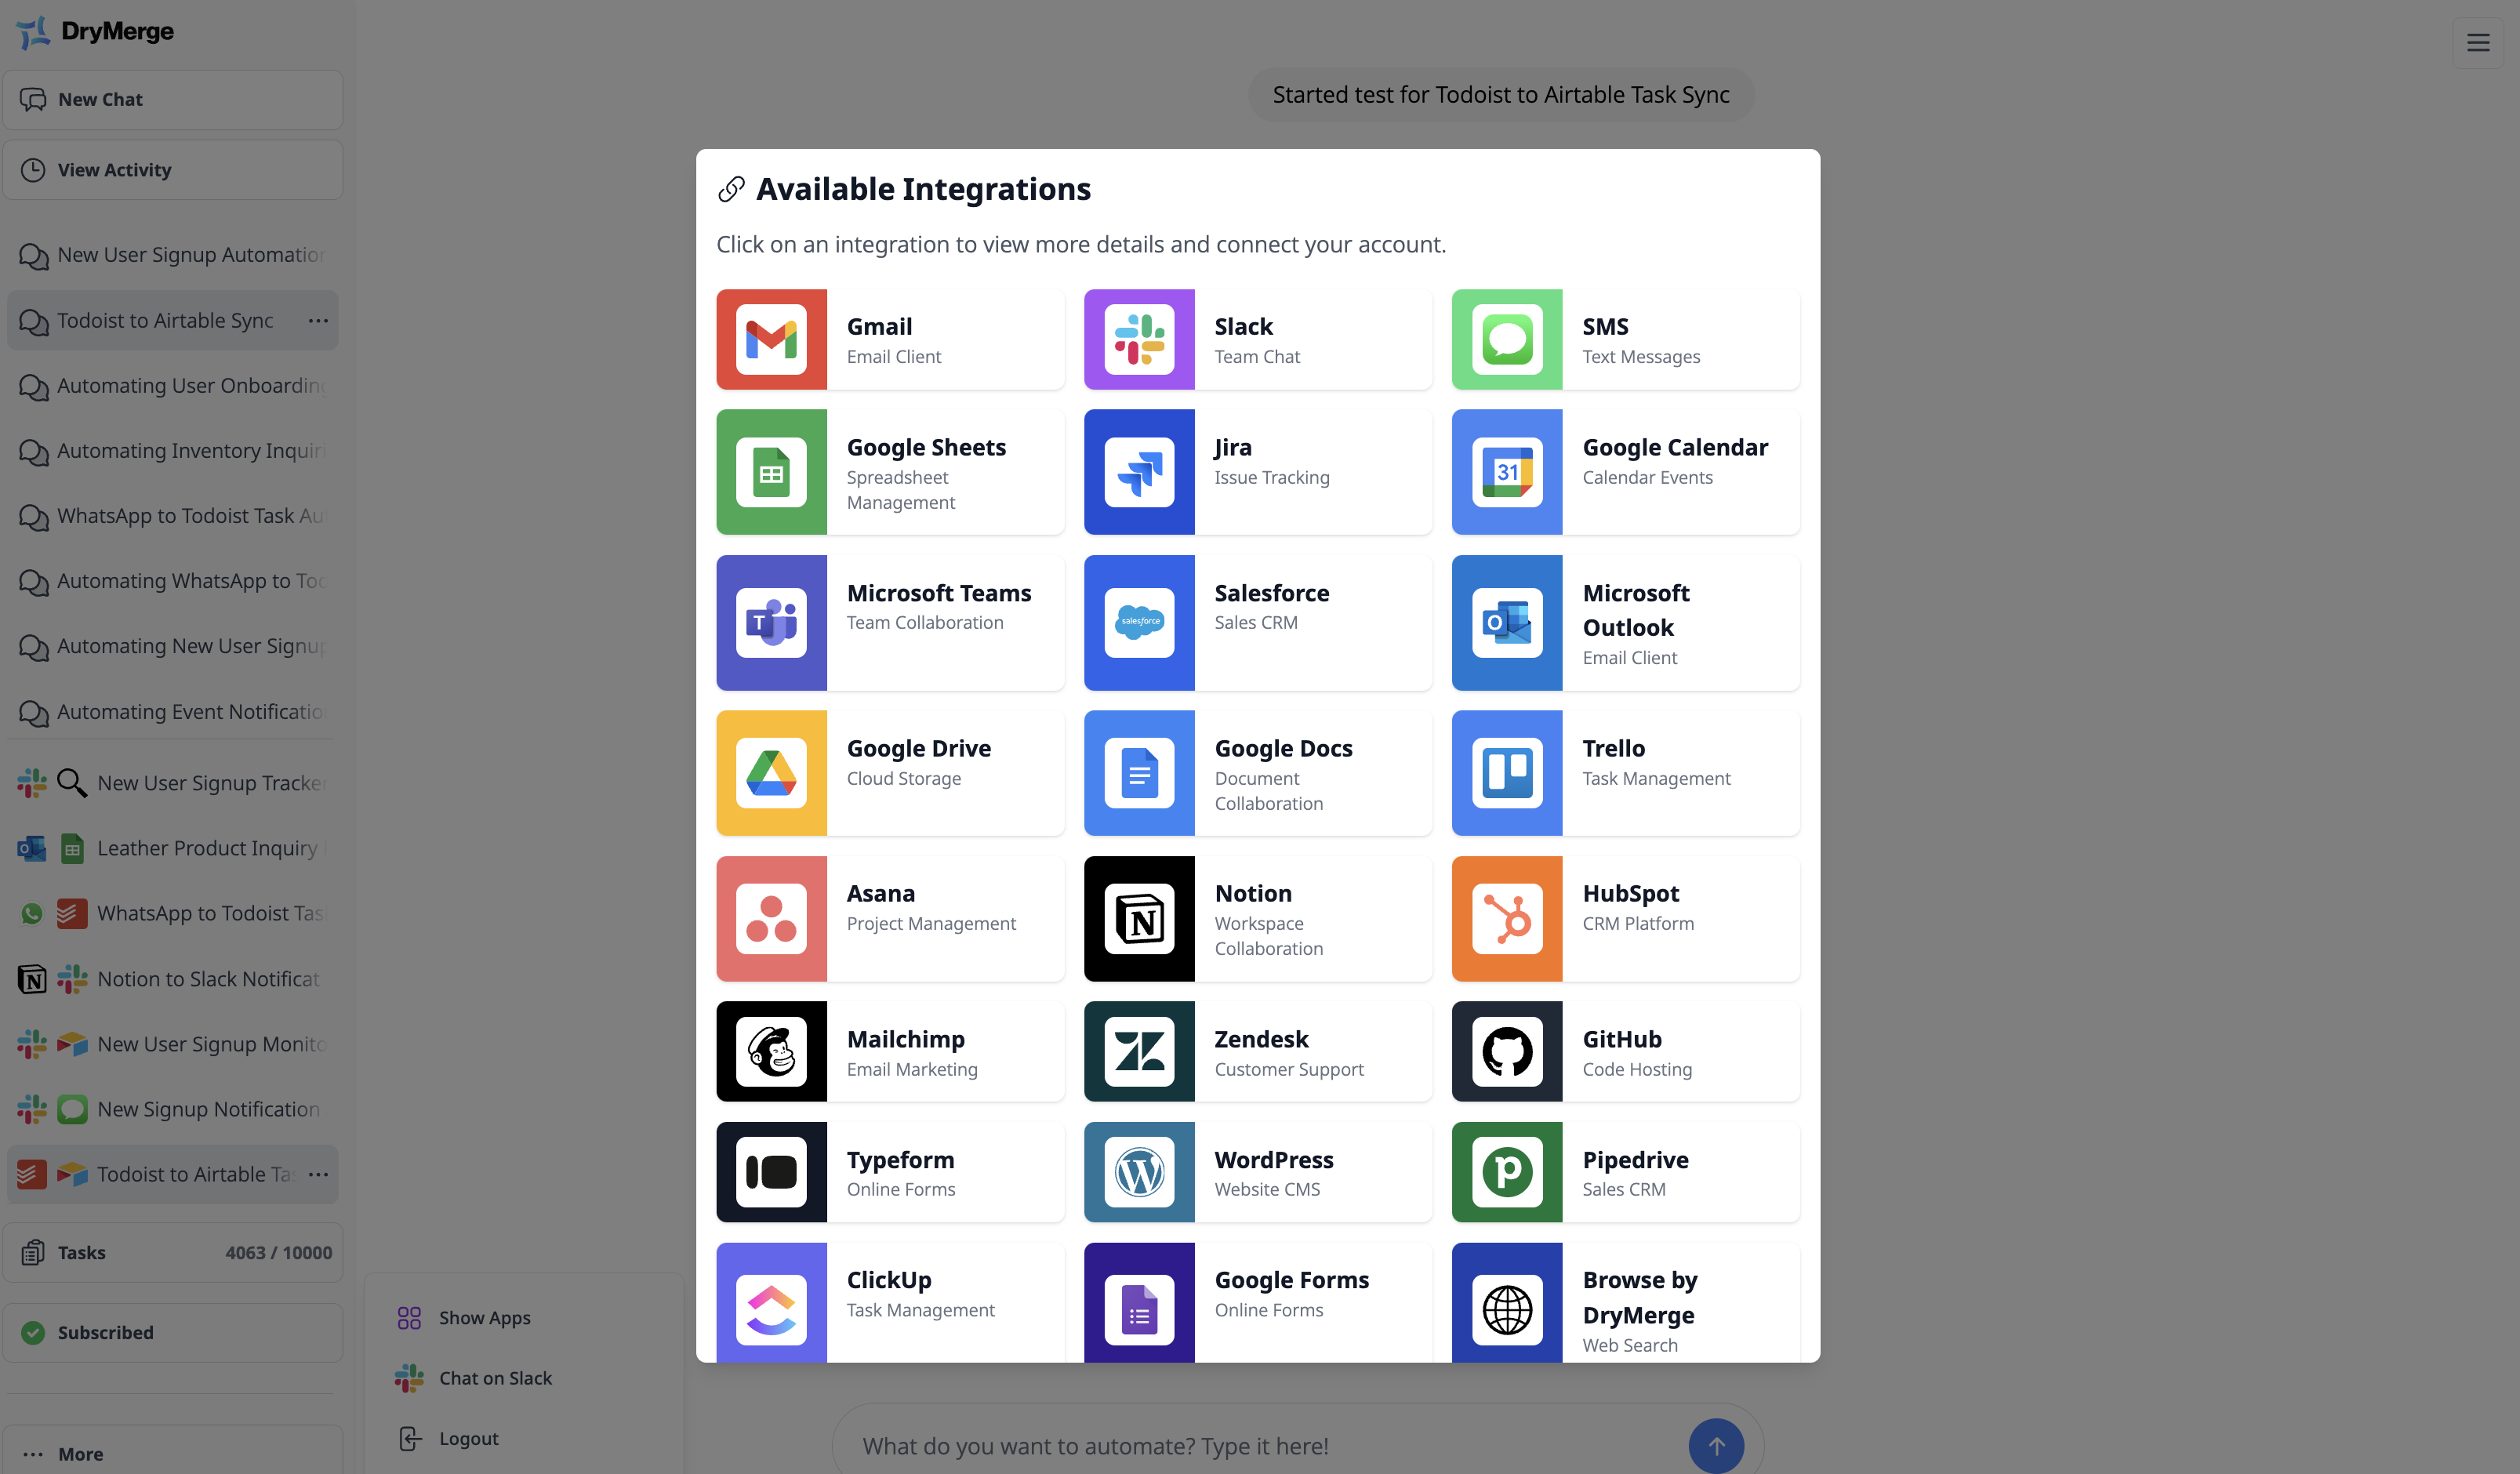
Clicking on any supported integration will show you the full list of triggers and actions you can use in your automation.
